I've never really used 3DSMax before, other than butchering a render attempt when someone tried to teach me over AIM. I followed the tutorial and I wound up with this:
Does this look right or did I do something wrong and not notice? It looks right to me, just want to check.
Ok i tried following your tut but got lost....so i tried the tut for noobs, cuz thats what i am =) , anyways the masterchief_mix_diffuse.dds is not there due to an invalid link.
It was said in that thread that you need the color changing maps, and profile color values. How do you incorperate the who together? I got to the point where i made the color changing maps but no further.....
Someone please help this shit is pissing me off, cant belave its taken me this long so when im done EVERYONE is getting a E-beer for all your help =)
i really dont understand how some of you are getting lost. i understand having problems with the cc maps. but the rest, with exception to the visor and reflection is really straightforward. the only thing i can really say to help you, is re-read it again and then tell me exactly what you dont understand.
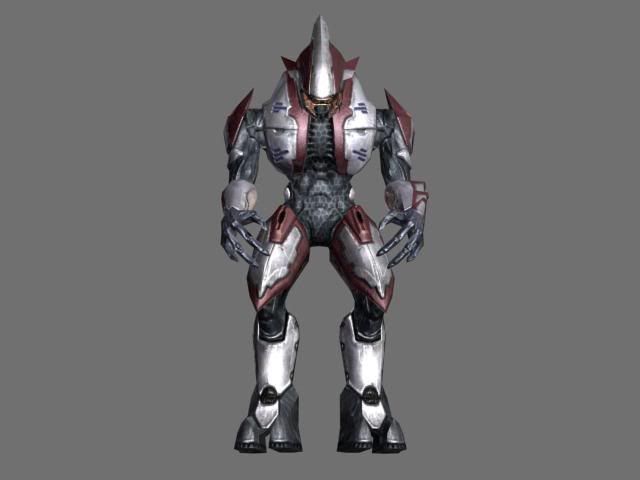
jam50 wrote:I did the tut over again, this time instead i used elite stuff, and i got this
Looks good man one question though cause it was driving me nuts does the right side of the elites mouth seem like he's missing his goules (lips) mine look broken but from every render ive seen they concentrate on the left side so I cant tell if its just the model or me
Edit------------Never mind lol I did something and screwed it up its back to normal now lol
Signature exceeded maximum height and file size limits
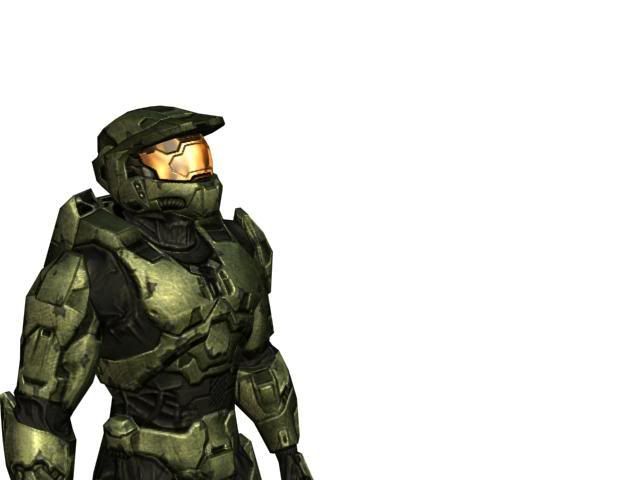
ok i am starting from scratch....first problem im having is in material editer after i name armor, visor and emblem. when i apply the armor shade is goes gray....when i apply to visor it turns gray....why in your picture is the guy green?
he changed the Diffuse color to green or orange, even though the diffuse map overrides that...but the Diffuse color option always dictates what the object is colored in the viewport.
unless, of course, you check the "show map in viewport" button (the blue-and-white checkered cube) it will show the map as opposed to the color.
also....it's really not vitally important. hit the quick render button (the teapot on the farthest right of the main toolbar) and you'll see what the shader "actually" is.
In the second slot of the Composite, create an RGBMultiply with the diffuse texture in one slot and a mask in the other. Do this for the third slot of the Composite as well.
i have created teh RGBmultiply but how do i put diffuse texture in one slot and the mask in the other?
I have another question....how do i get to my material tree?
I am getting so lost on applying the colors. I think im goin crazy!!
I am also getting so lost on making the color changing map. I think i have it right tho. When i pull the green out the background is black, can i just invert it? I am VERY determined to get this model done. If i dont hurry i think my wife will KILL me, i have spent too many hours on this lolz..........
again thanks for allyour help. I really appriciate it.
Don't mix tutorials. If you're talking about the green and red color change map, just go into the channels tab in Photoshop, select either the red or green layers, and CTRL+A, CTRL+C. Then paste that into a new canvas and you've got yourself the primary and secondary colors isolated.