
What you will need.
Entity Ultimate Edition V1.6
ADI v2.0.1
(Halo 2)Model Extractor Library. (Updated Jan 23rd, 2005)
3d Studio Max.
Cubemaps posted by Veegie and Aequitas
Something to extract the alpha channels.
Photoshop
Gimp
1; Extracting the model.
Open up ADI, and load mainmenu.map
Go to the model tag [mode] and find objects\characters\masterchief\masterchief
Then click the house icon and export the chief in obj format. Close ADI as it is not longer needed.

2; Importing into Max.
Open up 3d Studio Max, and click file -> import.
Now search for where you exported the masterchief model and import numbers 16-19.


Make sure these are your settings before you import, because if you have normals checked max can crash.
Press F9 and you should get something similar to this.

You'll notice the holes and that the masterchief has no materials/textures.
3; Getting the model ready for materials.
Open up the Material Editor (M by default) and pick 3 slots you want to use for the materials. Name them Armor, Visor, and Emblem.
Next, select all the parts of the armor, and apply the Armor shader to them.

Now do the same for the visor and the Emblem.

Now, to fix the "holes" we need to weld the verts. But first, we need to attach all the parts of the mesh. For the sake of the tutorial, i am not going to use the emblems. So ill delete them, but ill show you how to make a basic material for them at the end.
Go ahead and select one part of the mesh, then right click and click attach. Now, left click all the parts of the mesh until every part has been attached. When you go to attach the visor, check Match IDs to Material.

Now that all the pieces are attached, we can weld the verts.
Under the edit mesh modifier, select vertices and proceed to select all the vertices of the masterchief model. Now scroll down in the modifier until you see weld. Enter .001 and press Selected.


Next, select all the faces and click unify.


Now its time to get the textures.
4; Exporting the textures.
Use Entity to export all the necessary textures.
You will need:
Objects\Characters\Masterchief\bitmaps\Masterchief
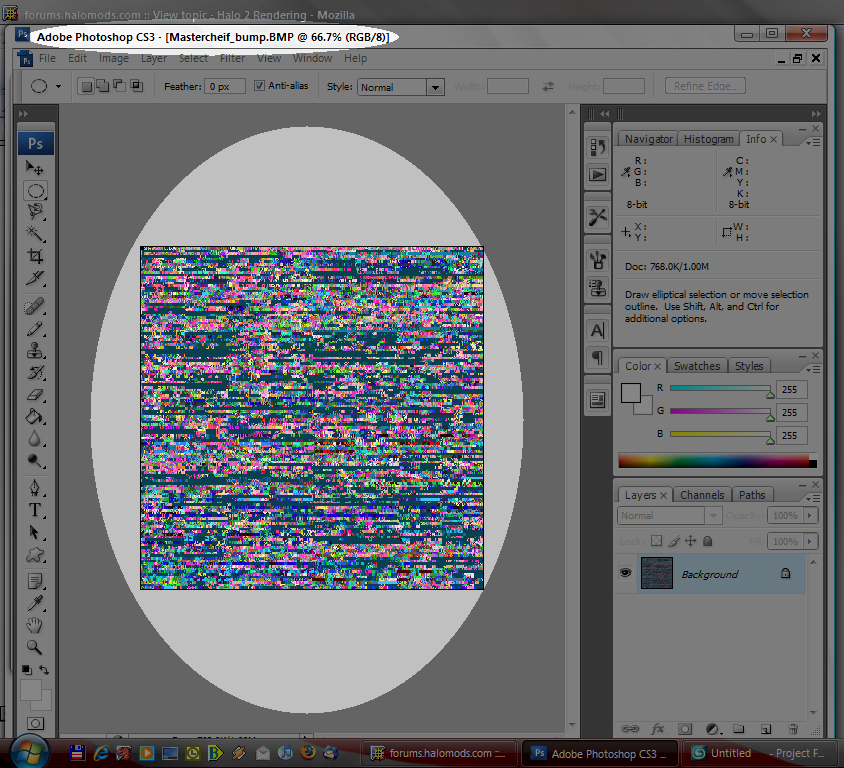
Objects\Characters\Masterchief\bitmaps\Masterchief_bump
Objects\Characters\Masterchief\bitmaps\Masterchief_cc
Objects\bitmaps\detail_maps\metal_dirty
*Note, for the detail map, whatever you do do not export as dds. The alpha channel messes it up in max.
I find it easiest to export as .bmp but thats up to you. You at least need to export them in a format that handles alpha channels.
The button to export bitmaps in entity is in the top right hand corner, its a blue circle with a white plus on it. Click it, then click Save Bitmap.

5; Getting the textures set up in Photoshop.
Now, open up all the textures you just exported in photoshop, gimp, or any program that handles alpha channels.
For the main diffuse map, go to channels and click the alpha channel. Now press Control + A, Control + C, Control + N, Enter, Control + V. Now save as masterchief_alpha in any format you wish. (name it whatever you want) This is the specular map for the masterchief.

Now, open up masterchief_cc. This is the color change map, it is responsible for masking off the areas that you want to add color to, and keep the areas that you don't want to add color to the way they should be.
This part is a bit tricky if you haven't ever done it before. You need to select both the green and red channel and make new bitmaps out of them using the same technique that you did to create the specular map for the masterchief. Once you have them separated, you need to make sure that the areas you copied are white and the backgrounds are black.

If you dont get it right the first time, try again changing the levels if needed. Once you have both the secondary (green channel) and the primary (red channel) then we can go back to entity and max and start setting up the materials.
6; Creating the materials.
First, find the masterchief shader tag [Shad] in entity. On the top of the third column, click the word tools and then click Meta Editor. Scroll all the way down in the middle column and you will see some important boxes.

Under Rescources, just change the numbers to see which bitmaps are used. Of the ones listed, the ones we will use are the cc, bump, detail map, cubemap and main texture.
Under that is specularity, this is the specular level of the material in max. 1 = 100. If it were to say .4, the specular level would be 40 etc.
How you set up your shader is a matter of personal preference. For this tutorial, use the way i set up mine and then experiment later on to see how you like it best.
Go into the diffuse color slot of the material, and Create and RGBMultiply.

In the first slot, add metal_dirty. Now, detail maps are very small images and thus they need to be tiled. To find out how much to tile the bitmap, go to the top of the center column of entity and click tools -> show -> show invisibles. Then select OK. You will notice that the column changes. Now scroll up until you see the box with the words Detail Tiling/Falloff Colors. The first set of numbers are 9x9, this is where you find the detail tiling of most detail maps. For some models such as the skin on marines, you must scroll down under the words Detail Tiling/Falloff Colors to find the detail amounts.

Go back into max and tile metal_dirty at 9x9.

Now, in the second row of the RGBMultiply, add a composite.
Give it three slots.


In the first slot, put the masterchief texture. This will complete the rubber.

In the second slot of the Composite, create an RGBMultiply with the diffuse texture in one slot and a mask in the other. Do this for the third slot of the Composite as well.

In the first mask (Second Slot of the Composite) put the primary armor cc map in the mask slot. This will mean that the second slot of the Composite controls the primary color of the masterchief. Do this to the third slot of the composite, only instead use the secondary cc map. Now that you have this set up, you're ready to get the multiplayer and campaign colors. You need to create a composite with 20 colors. Tural posted the Multiplayer colors a while back. To get the Campaign color, you need to go into the masterchief bipd tag and show the invisibles in entity. Scroll down until you find the word permutations, and multiply the first 3 numbers by 255 to get the RGB colors for the campaign color. Make an RGBTint in the first slot of the composite for the colors, and name it Campaign. Then add in the RGB colors for it.


Do this for the rest of the colors that Tural provided, but make sure you only check one at a time in the composite. Im using campaign for this tutorial. Copy the color composite to both the map slots of the primary and secondary areas of the masterchief armor material in max.


Now, onto the specular color of the material. You get the specular colors in the same way you get the diffuse colors, only you get them from where you got the detail tiling numbers. Create a falloff in the specular color slot.

Now in entity, go back to where you found the detail tiling information. Scroll down to 10 and 11. Get the first three numbers of each of those, multiply them each by 255 and set them as the RGB colors off the falloff.


Next, set the masterchief_alpha or whatever you named it in the specular level slot.

Move down to the bump slot, add a normal bump and place the masterchief_bump in the normal map slot. Set the bump level to 100.


Finally, all that is left for the armor material is to add the reflection.
This part is very important, so make sure you follow along very carefully. Im not going to show pictures of each step.
Drag the falloff that is in the specular color slot to the reflection slot and click Copy. Click that falloff, and where it says falloff on the right about mid way of the material editor window, click it. Now click RGBMultiply and click Keep Old Map as Sub-map. In the bottom slot of the rgbmultiply, add the masterchief_alpha texture. this will keep the reflections off the rubber. Now go back to the falloff, and do the same thing to make it into an rgbmultiply. This time though, in the bottom slot add metal_dirty and tile it 9x9. (remember from earlier?)
One last time, make the falloff the first map of an RGBMultiply. This time though, for the bottom slot create a black RGBMultiply. In one slot of this blank Mutliply, add a Reflect/Refract. Now, extract the cubemaps you downloaded earlier and find the masterchief_armor cubemap. In the reflect/refract, click from file for the scource. Now move your mouse down and click up. Find masterchief_armor_up and double click it. Go back to the rgbmultiply that has one black slot, and click and drag the Reflect/Refract into that black slot. Click Instance.

Since im tired (been working on this for two hours now) im going to show how do to the visor quickly. I will edit the post with how to set up an emblem material later.
For the visor, put the masterchief texture as the diffuse color.
For the specular color, get the falloff colors the same way you got the armor colors.
Specular Level = Masterchief_alpha
Bump is the same way as before.
Do the same thing with the reflection, but use the mirror_surface cubemap.

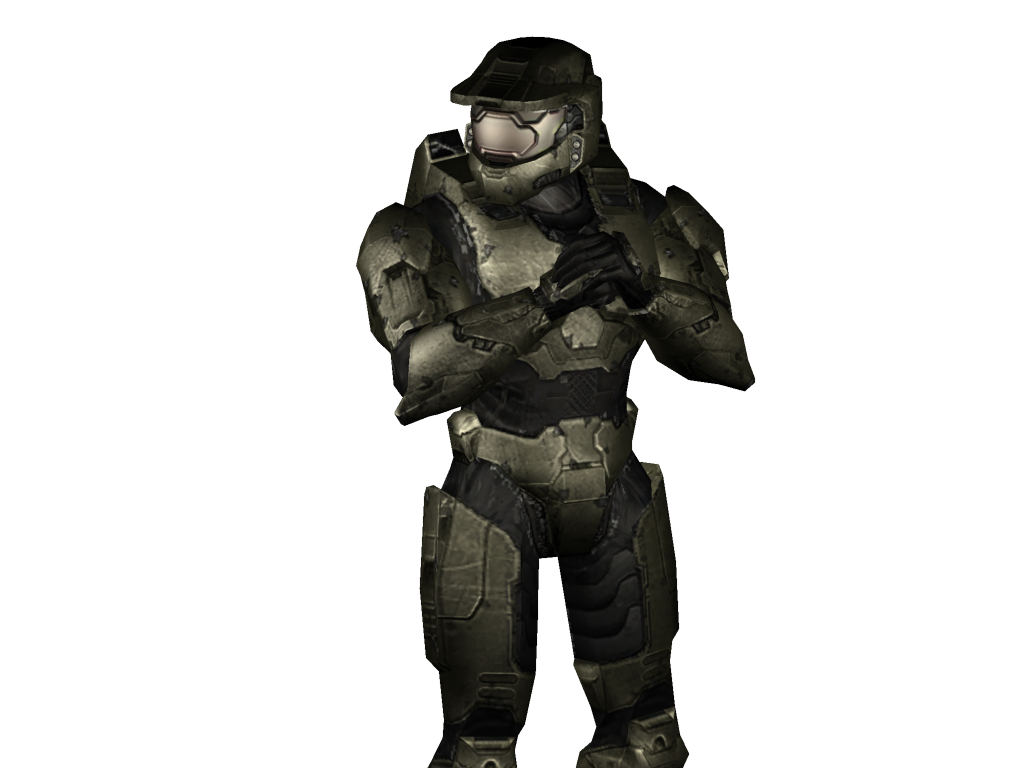
Congrats, you should have just created a close to ingame looking masterchief material. There are some other tricks, but i cant tell everything.
And here is the material tree. hopefully today if im not busy i can show pictures for the visor and how to set up an emblem. but right now im on my lunch break so i cant.

7; Emblems.
First of all, i wasn't planning on doing this. But since i mentioned it earlier i might as well do it because of all the people asking how to do it.
The people at High Resolution Halo, were very kind to help us out, although unintentional Im sure. Here i got an extremely awesome picture of some Halo 2 emblems. I chose to use the third from the top left for this example since it is very clean. Using photoshop, i made three textures of this.


Now, in max i make a new material and set the first slot of the diffuse as a Composite. For this particular emblem, i can either have one slot or two slots for the composite. However, I think i want to be able to have the two shapes be separate colors, so i need two slots. In each of the two slots for the composite, you will need a mask. The reason all the pictures above are in black and white, is so they can act as masks. For the mask slots in each mask, you will put the textures with only one shape that i posted above. The third one, the one with both shapes will be our opacity mask. In the map slots, creat an rgbtint and set it to whatever color you want it to be. You have just succesfully made the emblem materials
The only thing holding you back, is the uv map. I will post the correct .uvw later on tonight.


Final Edit:
8; The Emblem UV map.
You may want to adjust the scale a bit, since i have no way of getting the actual uvw map. Right now, it is to my liking. To use this, add the uvunwrap modifier to the emblems, and click load. Then search for this file and you're done. Lastly, you may need to use a shell modifier on the emblems and adjust the outer limit to around .01. Have fun guys


![[x]](http://img255.imageshack.us/img255/3713/fearck7.jpg)
![[x]](http://img246.imageshack.us/img246/8220/rb6vzo3.jpg)
![[x]](http://img504.imageshack.us/img504/7088/bustawolfrb3.jpg)